Tools required
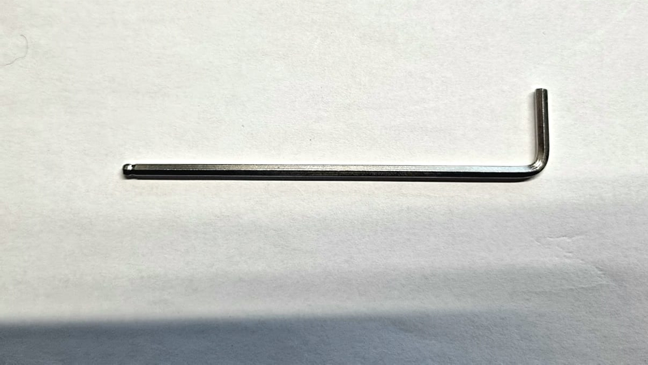
1. 3mm Allen Key
2. 8mm Wrench

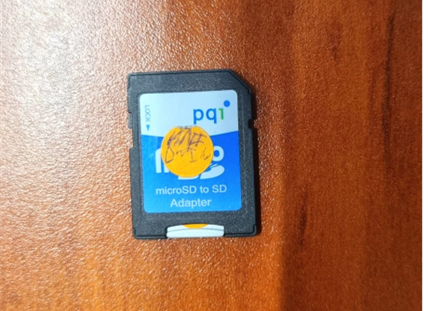
3. Micro SD to SD adaptor
Steps to update the HMI
Step 1:
Remove the bottom cover off the nomad/ PS 10:
Step 2:
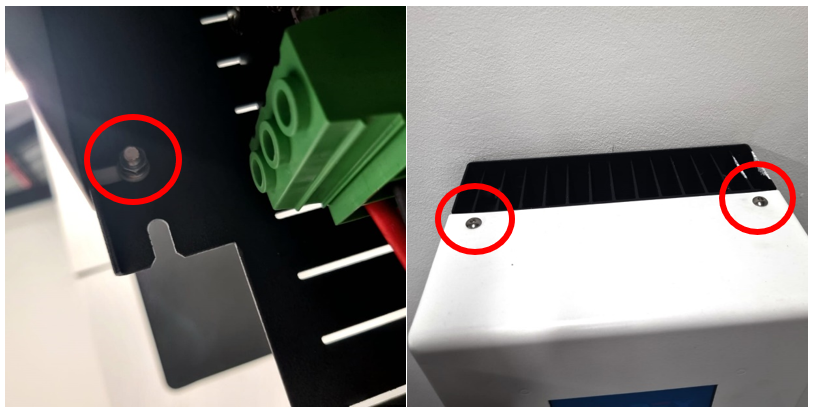
Remove the faceplate of the Nomad/PS 10 by removing 2 nuts on the inside of the cover and 2 screws at the top.
Step 3:
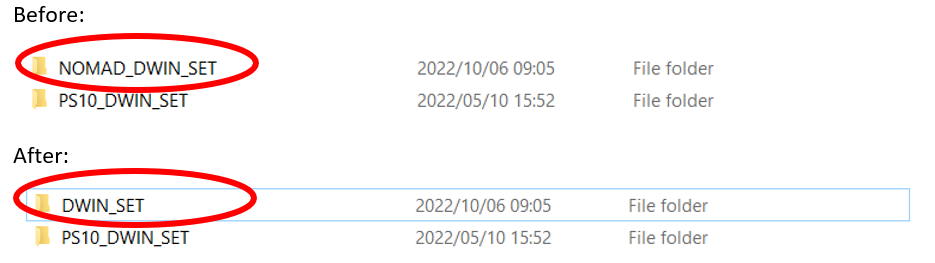
Prepare the SD card by inserting the SD card into your laptop and naming it correctly as follows. For a Nomad HMI rename the Nomad folder to DWIN_SET and for the PS 10 rename the PS 10 folder to DWIN_SET
Step 4:
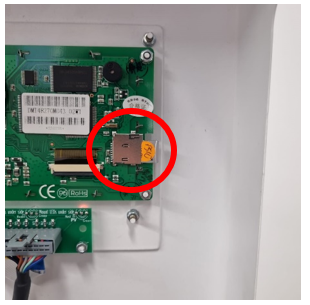
Insert the micro-SD card into the back of the HMI making sure it is facing upwards.
Step 5:
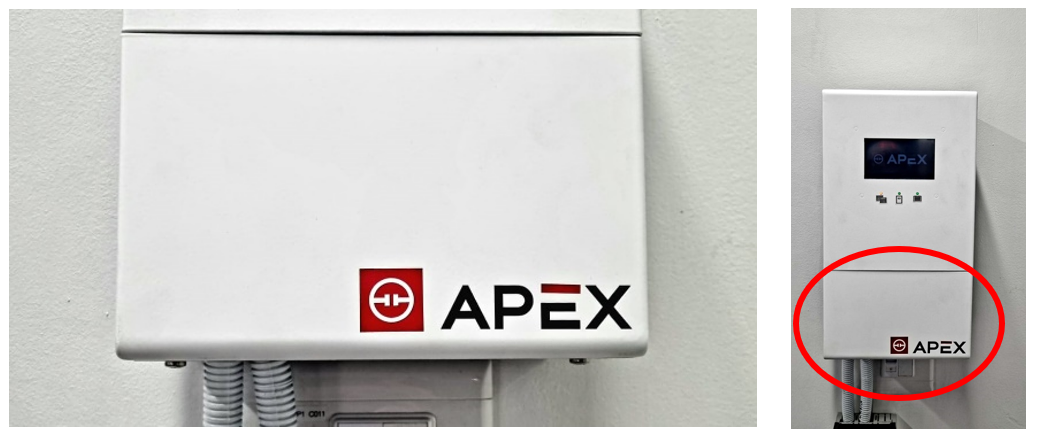
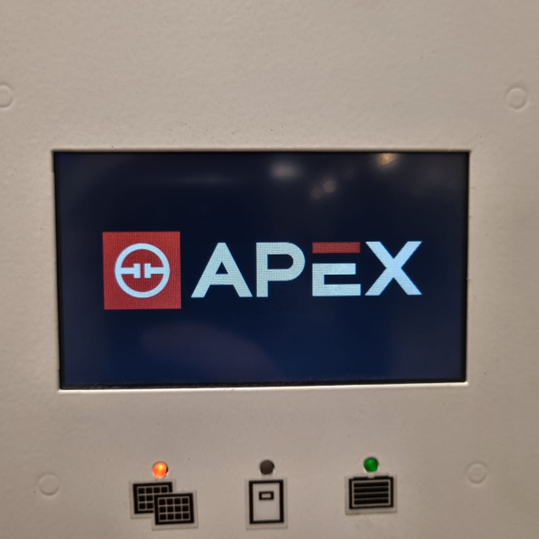
The HMI screen will turn blue, then it will go through all the pages. As soon as it is done, the APEX logo will appear as indicated below.
Step 6:
Remove the micro-SD card from the back of the HMI and rename it as it was originally. Close the cover and ensure both nuts and screws are secured.