This article describes the steps you can follow in order to update the Apex Nomad MPPT Controller
First ensure that you have the correct tools to do the update.
Tools required:
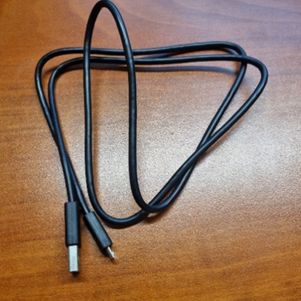
USB – Micro USB Cable

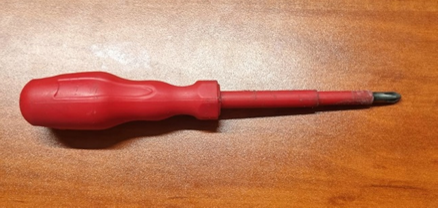
Phillips screwdriver
PC loader
Steps to update the Nomad:
Step 1:
Check on the settings screen of the Nomad on the left bottom corner, to see current firmware version.

Step 2:
Remove the bottom cover off the Nomad.

Step 3:
Plug the Micro USB Cable into the Nomad and the other end into your PC

Step 4:
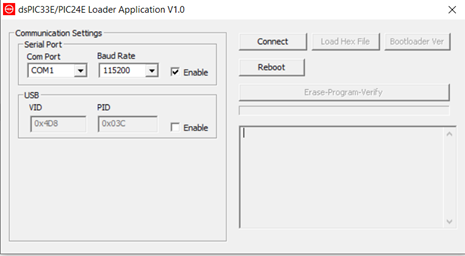
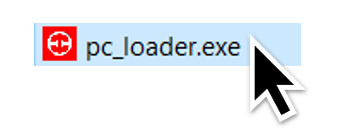
Open the PC loader file on your PC
Result from clicking on file
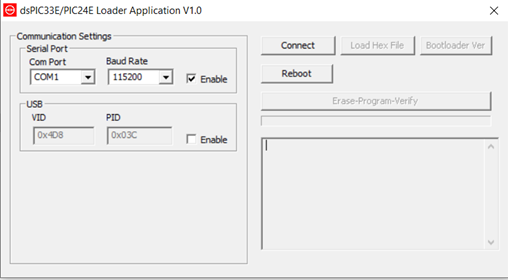
Step 5:
Enable USB

Step 6:
Click on Connect- It will state device connected and show the bootloader FW version :2.0


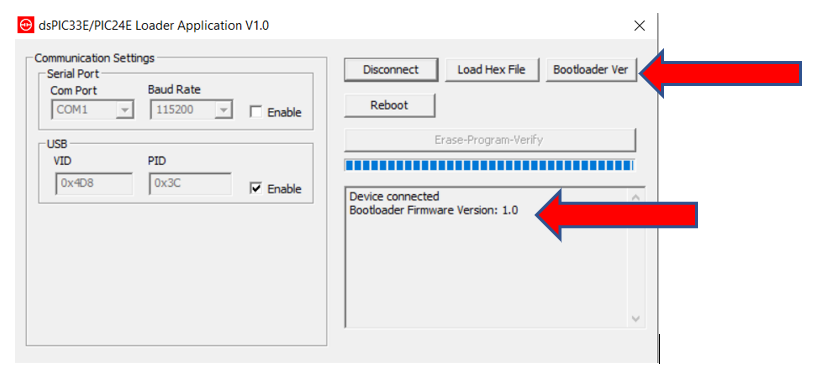
Step 7:
Click on Bootloader Ver 3 times- The device will then Disconnect, immediately click on Connect. It will then state device connected and show bootloader Firmware Version :1.0
Step 8:
Once in Bootloader Firmware 1 then only you can Click on Load Hex File. Once you upload the correct firmware supplied by your Rubicon Technician, it will then state: Hex file loaded successfully.

Step 9:
Immediately after the file has been loaded, click on erase-program-verify, it will then state: Flash Erased, and Program completed.
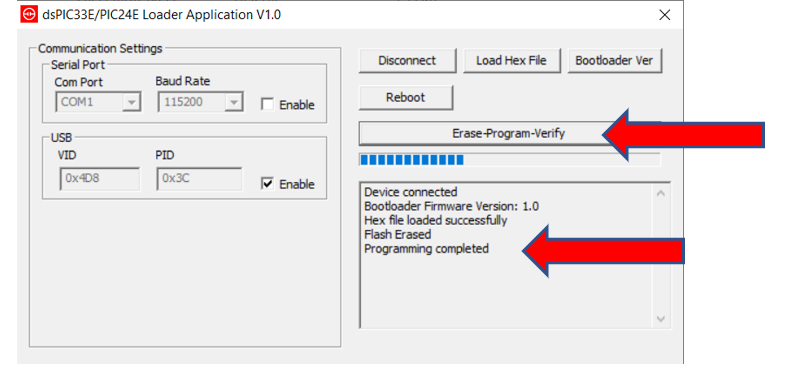
Step 10:
When the data states: Programming completed, No Response from the device, Operation failed. The firmware has being updated. You can now close the program and check the Firmware on the settings screen again and see that the correct firmware is loaded.

