In this article we will investigate the process and steps to fault find on a Synapse 600 & Synapse 1000 UPS Inverter
Tools Required

- Multimeter
- Star screw driver
Parts Required

- Synapse 600 Main PCB
- Synapse 1000 Main PCB
- 30A DC blade fuse (Green) Synapse 600
- 40A DC blade fuse (Orange) Synapse 1000
- 10A 220AC miniature round glass fuse
Fault 1: AC Fuses
Check the AC fuse at the back of the UPS. Replace if blown.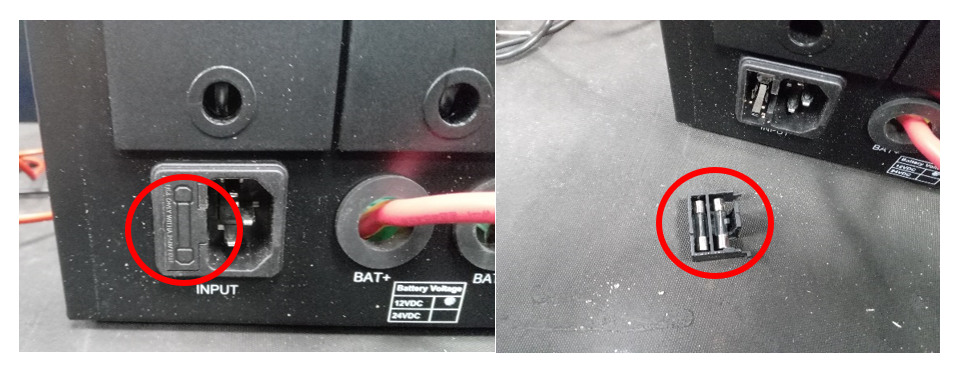
Fault 2: DC Fuses
If the AC fuses test fine and the UPS still doesn’t power up, then the next check will be the DC fuses on the main PCB.
Open the unit at the back by removing all the screws and check the DC Fuses.


Check the DC fuse bank with a multimeter, set the multi meter to continuity test. Test the fuse across the test point as shown below. If you get an OL reading then you need proceed to the next step.

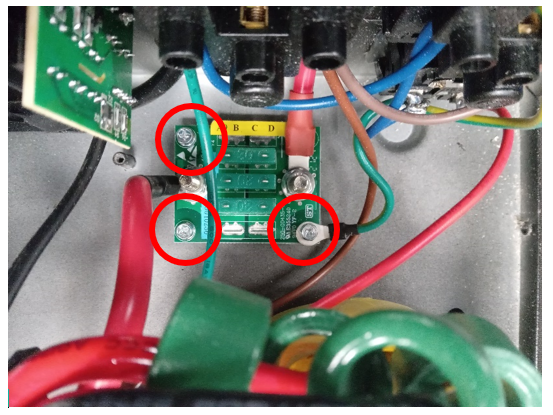
Remove the fuse PCB by unscrewing the 3 securing screws as shown below.
De-solder the blade fuse and replace it with the correctly rate DC fuse.

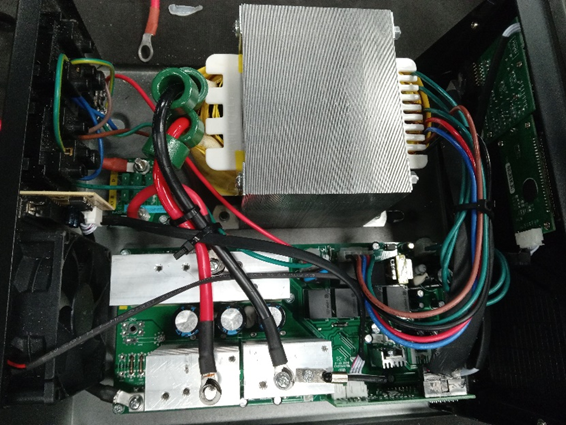
Fault 3: Main PCB
Check the Main PCB and set the multimeter to diode test. Remove the red positive lead that is connected to the 1st heatsink.
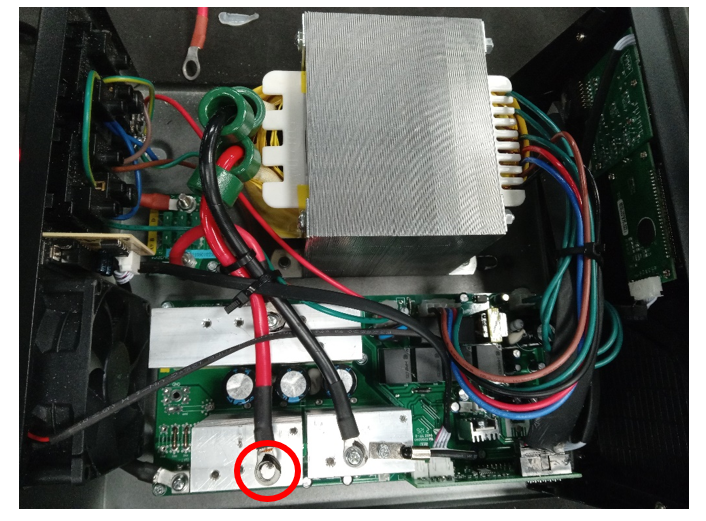
Place the positive test lead on the 1st heatsink of DC to DC bus and the negative test lead on the AC bus heatsink.
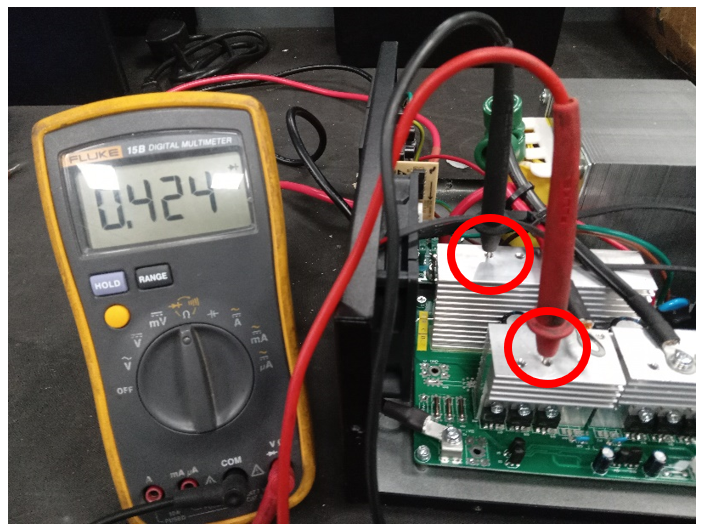
Place the positive test lead on the 2nd heat sink and leave the negative test lead on the AC heatsink.
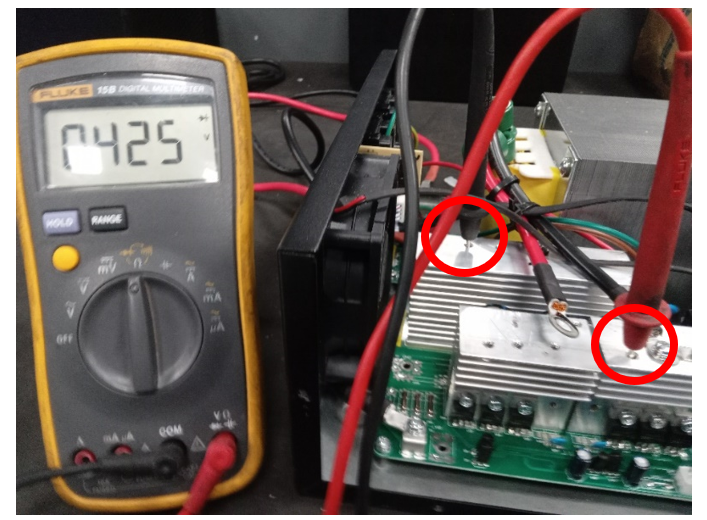
You need to get a voltage a drop of 0.4V and above across both heatsinks which would then indicate the Main PCB is not faulty.
If you only get one reading across both heat sinks then you need to replace the main PCB. Safely remove all the connectors and unscrew the main PCB.